Sorry for all this time missing, I’ve had some health issues during my “holiday time”…how is it that while you are working you never get sick and then, you relax a bit, and boom, everything hits you! Anyway, this is one of the few years that I even wanted to get back to work, though once you are there, even now that I love my job, you feel you haven’t had enough vacations! This is all to say that I’m back to my usual day to day and so back on the blog! Also, I will try to make time to share with you some of the things I’ve discovered during this trip…as I get my hands down to trying to make them myself!
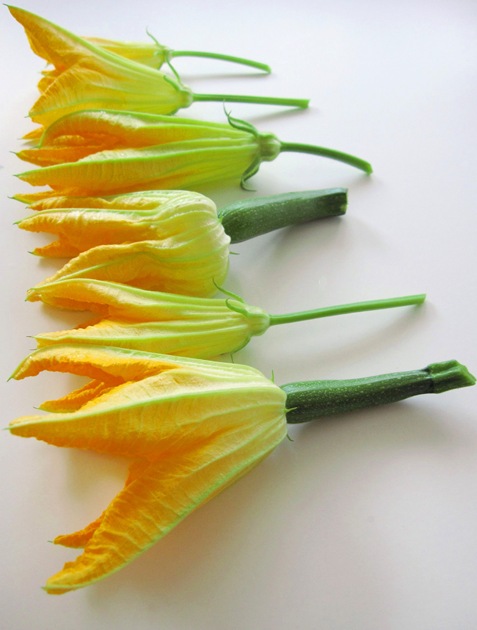
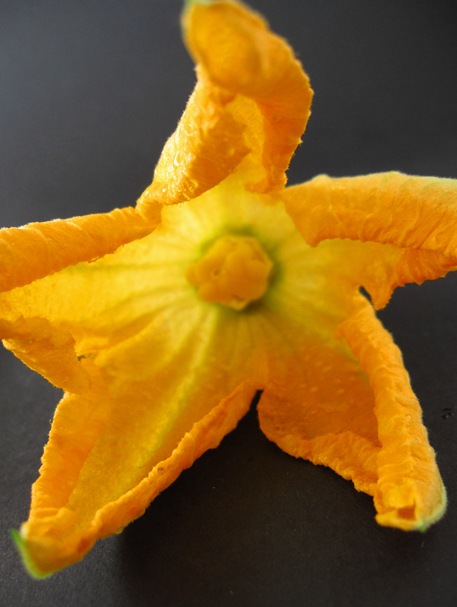
For now, I’d like to share an ingredient that I had heard of loads about but never managed to find here so as to try it: courgette flowers! I know “fiori de zucchini” as they call it in italy is quite a common delicacy there, but the few times I’ve been to Italy I’ve either missed them or haven’t seen them in the restaurants I’ve gone to. So, this year that my mother in law planted a few courgette seeds and the plants grew beautifully, I couldn’t resist trying them at last!
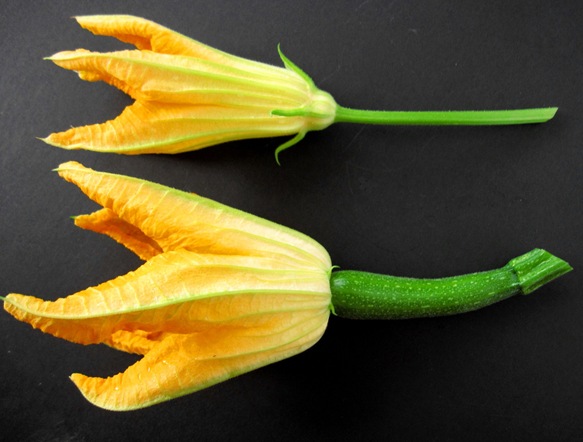
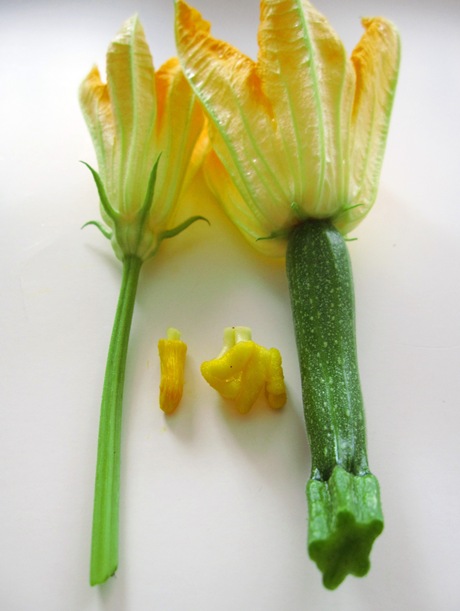
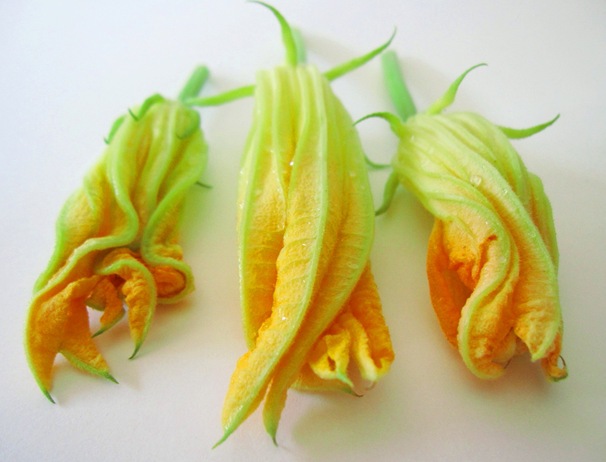
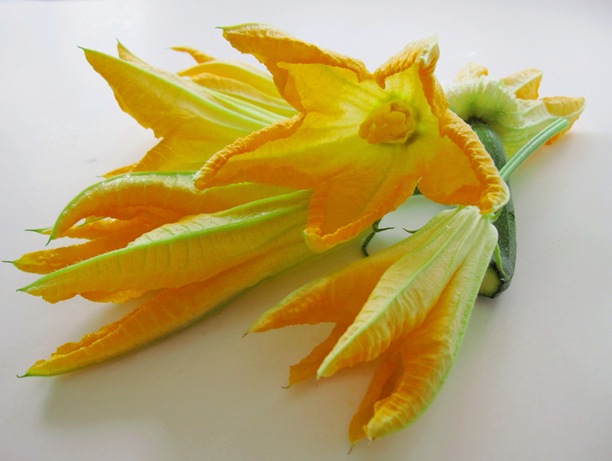
To my surprise, they are fairly prickly flowers, though beautiful indeed. So, I was curious to see how they felt once cooked. Also, I realised that some flowers grew with the courgette attached to it’s end while others just grew with a stem. I learned that both are edible, the ones with the zucchini are female flowers and those with just the stem are male flowers. The only thing necessary to use them is to remove the pistils within (the reproductive organs) as they may give off a bitter flavour.
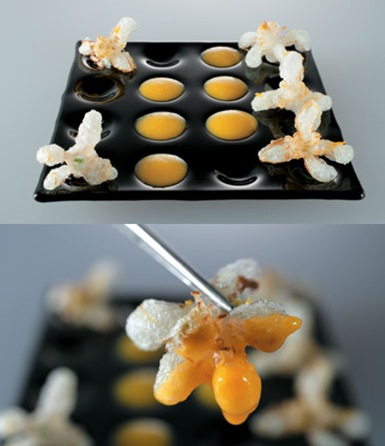
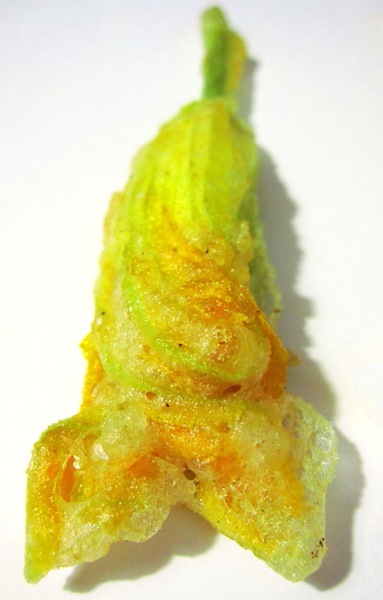
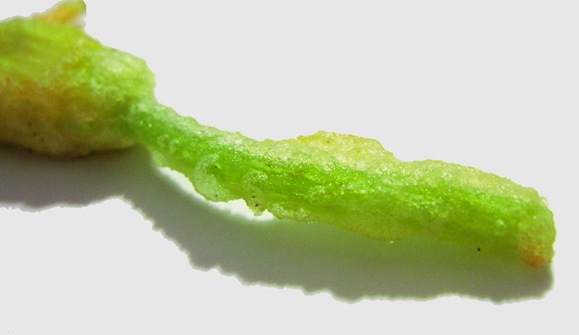
I knew I wanted to cook them whole to leave their natural beauty intact, I’ve read various recipes where they are chopped up and added to a sauce. Also, I preferred to fry them, in a similar way to the way tempura is, with a very thin coating so that their colour shows through. Ferrán Adrià uses a fresh yeast tempura batter for a mandarin flower. The photo below is from this fantastic El Bulli catalog and the one after that is my version on the courgette flower inspired in his “tempura” recipe…the photo was taken at night, thereby the harsh shades!:( .
I tried the flower lightly battered and fried on it’s own, I loved the crispy exterior and the soft flower, but the flavour was quite bland. No wonder, it is often filled. I’ve tried it filled with various mixtures of cheeses but I still find the best to be mascarpone or ricotta, a bit of parmesan and some chopped up fresh herb (be it chives, basil or butter-fried sage) seasoned lightly with freshly milled pepper as Haalo from the fantastic blog “Cook almost Anything” uses!
So, this is not a recipe but more of a method to get a crisp flower with a very thin coating of batter and filled with a mixture of meltingly soft cheeses and herbs to your taste!! Hope you like it as much as I have…if you find the flowers!
Stuffed courgette flowers with a crisp & light batter
(for about 10 flowers)
For the batter:
80g flour
130-140g tepid water
3g of fresh yeast
pinch of salt
pinch of sugar
For the filling:
80g ricotta cheese
~8g of parmesan (or to taste)
some chives or fresh basil
freshly milled black pepper
pinch of salt
optional: a pinch of grated lemon rind
Plus:
oil for frying
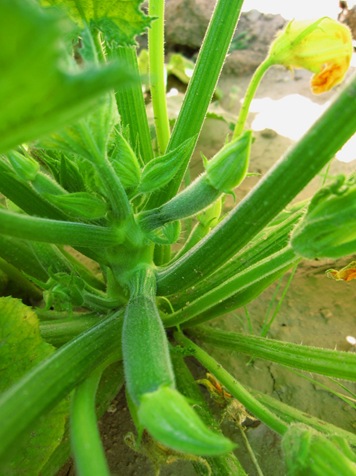
First, I just wanted to show you the plant as I find it incredible how many zucchinis, and flowers specially, can grow from a single plant…1 seed only! Nature is unbelievable!
Ok. I took the photo after having taken the flowers I’ll be making, but you can tell how many new ones are growing. New ones have been showing up every week for almost 2 months now! You can see how some even dried up as I was late for them!
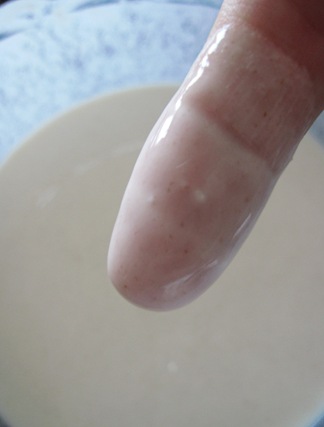
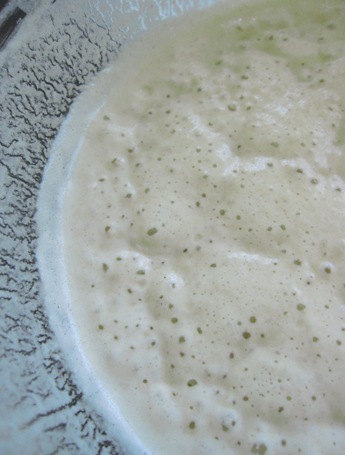
Start by preparing the batter, as it will need over an hour to rise (you can add more yeast so it is faster, but I find it tastes too yeasty!). Simply dissolve the yeast in some of the water, add it to the flour making sure you incorporate it evenly, and add extra water to get the right texture. It should be very thin, like the photo or a tiny bit thicker!! As as if puffs up, it will be fluffy but with texture.
Leave covered until it rises while you prepare the flowers…
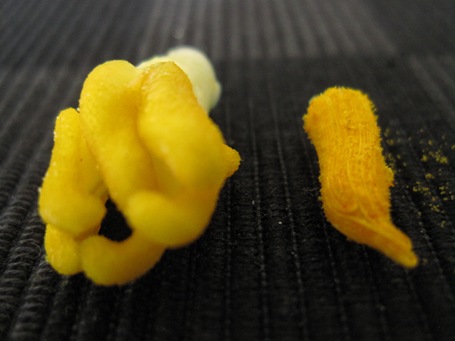
So, as I said in the introduction, all that really needs to be done is remove the pistil inside. The female and male flowers have completely different looking pistils:
The female one, on the right, is much larger and easier to remove. Here’s a closer look. Unusual, the female one in particular, isn’t it?
Even more important is to give them a good wash!! All the times I’ve picked them up, they had ants and other very little bugs inside. So, very delicately, or though they’ll rip on the edges and the filling will leak out when frying, fill them with water to remove any insects or dirt inside.
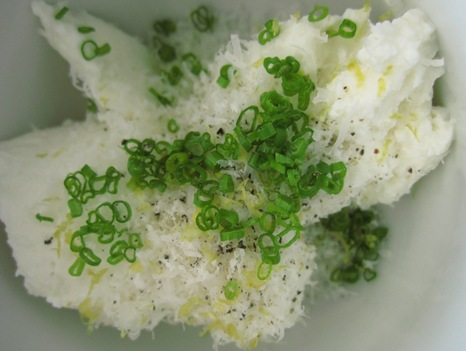
Then, simply just mix the ricotta, the grated parmesan (I’ve added just a little, but you may like a bit more) the chopped herbs (in this photo there’s chives, but I actually preferred the basil) and the freshly grated pepper. You may also like to add a bit of lemon rind!
The ricotta may look a bit crumbly but when it melts after frying it’s really super creamy!
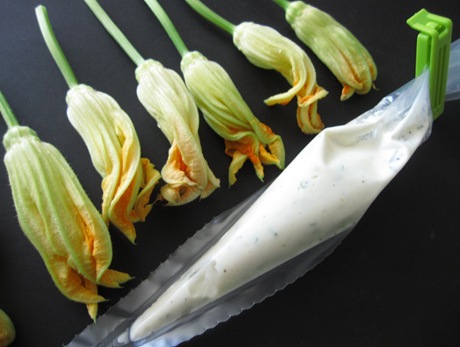
Just fill in each flower up to where the petals separate, I used a piping bag to make the task easier!
You can leave them in the fridge until ready to use
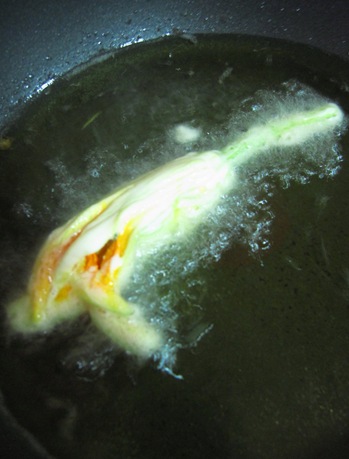
When the batter is ready, heat up enough oil in a pan to cover at least half of the flower.
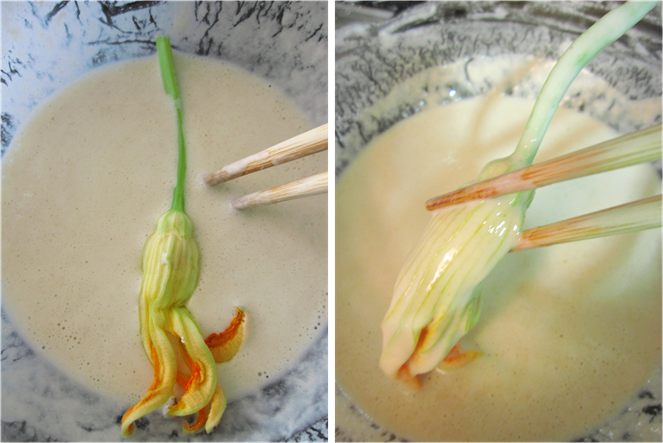
Dip the flower in the batter carefully ( I like using chopsticks, so you don’t remove any batter) and place a few at a time, to not lower the temperature down, in the hot oil.
When ready on one side, turn on the other
Just a note to say, that the oil should be fairly hot so the batter doesn’t get greasy, but if you see it darkens too much the tips, lower the temperature a bit.
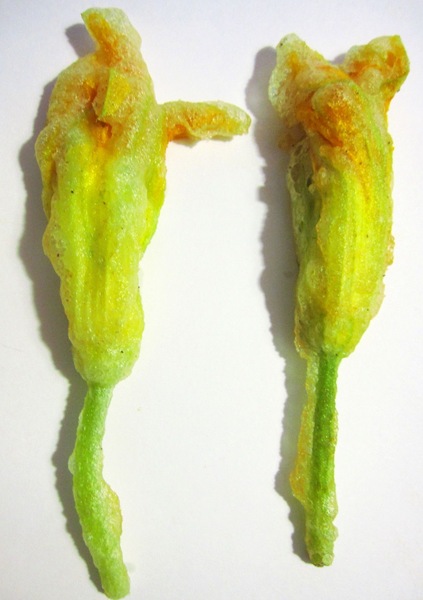
Remove onto some absorbent paper and serve as soon as possible!
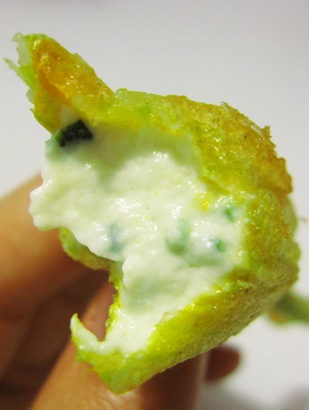
Take a bite into the creamy interior…
See how thin the coating is?
I hope you manage to get this fantastic ingredient and try it! I think you won’t be disappointed!!!


