July 29, 2010

“Horchata de chufas”: Refreshing tigernut milk

IMG_1395bis

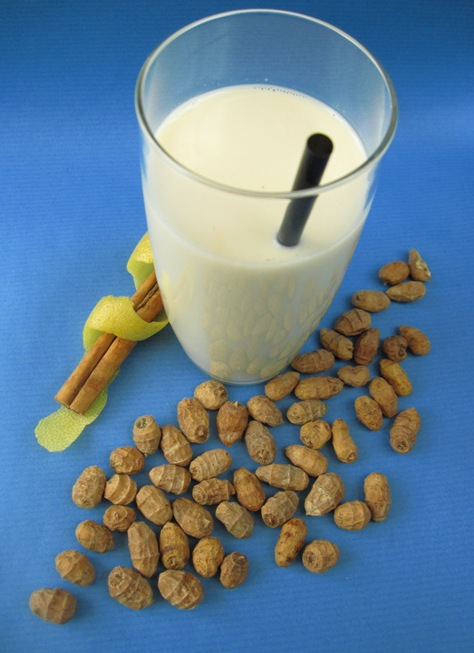
The things I love most about summer are 1) the variety of fantastic summer fruits available and 2) to make ice-cold juices, ice or milkshakes, lassis or any other refreshing juice! One of such juices is cool tigernut milk, to my preference lightly flavoured with a hint of lemon rind and cinnamon! Sometimes slightly frozen to make a half-sherbet, half-drink! Either way fantastic!

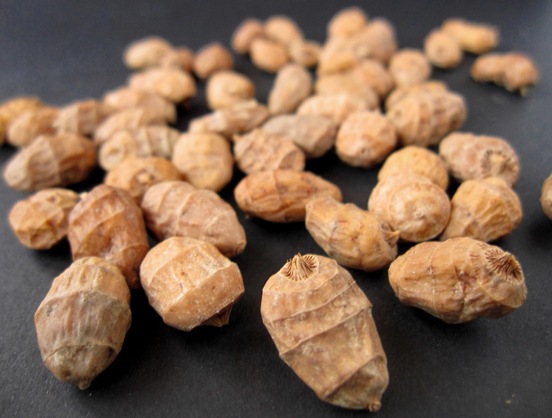
Tigernuts are a tubers, like potatoes, that in Spain are grown only in Valencia. When developed, the plants over the ground are burnt (quite spectacular, in fact) to make the harvest easier. Then, they are washed, dried and selected to remove damaged specimens…and ready to use!

IMG_1429

So, “horchata de chufas”, actually written “orxata de xufes” (in Valencia) is the traditional summer drink in Valencia. Horchata really means the milky extract from any vegetable source, such as hazelnuts, almonds, barley, rice or in this case tigernuts. In fact in the past, in Valencia it was commonly made with rice, as it was cheaper than tigernuts!  If made not overly sweet (which you often find) it really quenches your thirst. Sweeter it still makes a tasty (and really nutritious & digestive) snack! I really like it’s flavour, but like with everything, not everyone does…so you’ll have to try! It is often found elsewhere in Spain bottled by commercial brands, but like with most things, why buy it ready made, when the “artisan” home-made touch can be so much better, and furthermore, it’s so simple to make, assuming you can get hold of the principal ingredient: tigernuts!

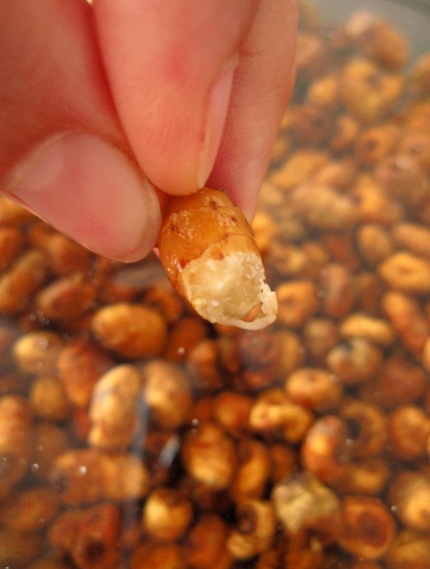
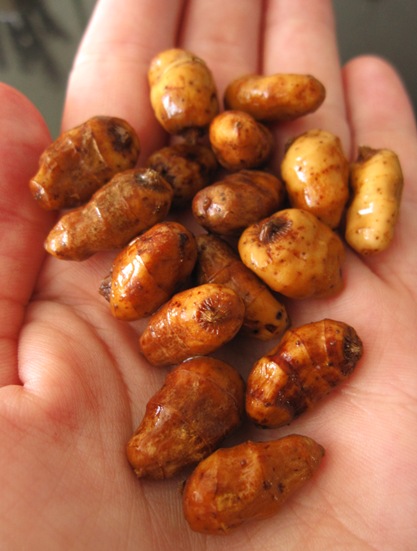
Have you ever tried the tuber itself? To me it tastes fairly different to the milk made by blending them with water to extract all their flavour! I’ve read that tigernuts from other areas other than Valencia aren’t half as sweet and flavourful. But I haven’t tested for myself, as the only ones I’ve encountered are the national ones. But these, I assure you, are like candy. They are super sweet and have a very particular taste and texture. No wonder you need to add up so little sugar to the extracted milk!

IMG_1344

Anyway, if you can get hold of tigernuts, I suggest you try to make this simple recipe to quench your thirst in these hot summer days! If the tigernuts are not from Spain, you may need to add extra sugar, in any case, adjust sweetness to your taste. Also, to me the touch of lemon rind and cinnamon improves the drink, but you may prefer the pure thing like Linguini who when he tastes the slightest hint of cinnamon says it tastes like bun! Lastly, try half-freezing it as if it were a granita, I think it’s even better! In valencia the sherbet-one is served with a straw that ends in a spoon, so you can either drink it or scoop it. Up to you…but try!!!!

Horchata de chufas (Tigernut milk)

(To make 1L)

250g tigernuts

1L water

~100g sugar (or up to 150g)

(optional: a small piece of lemon rind)

(optional: a small piece of cinnamon bark)

extra water to hydrate the tigernuts

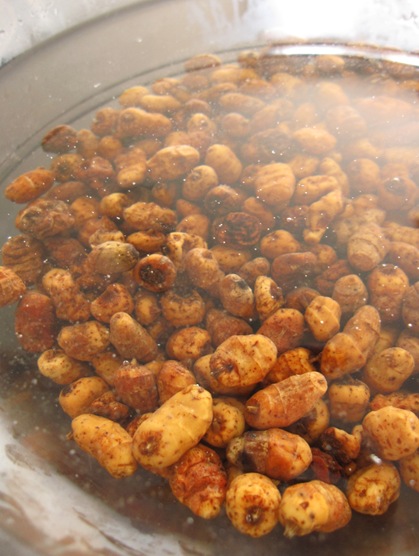
Few ingredients. Simple & tasty recipe! Ideally hydrate the tigernuts overnight or up to two days, by covering them generously in cold water and keeping them in the fridge (otherwise they may ferment). If they are really dry and they need two days, change the water each day.

IMG_1343 

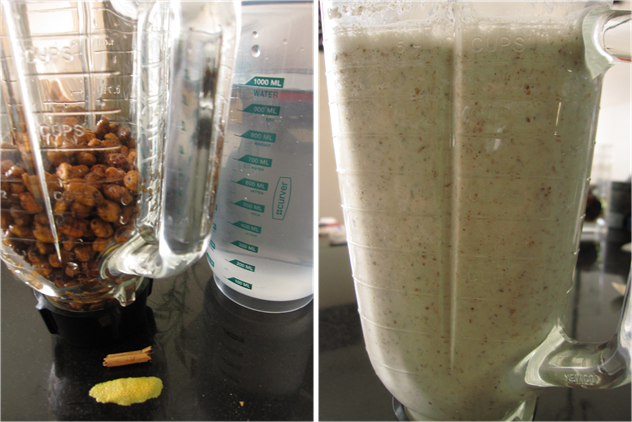
They will swell up a bit…

IMG_1345

Then, place the tigernuts with the sugar, the lemon & cinnamon if you choose to use them, and with about half the water and blend into a smooth liquidy paste, add the rest of the water gradually, unless it won’t fit the blender. In that case, it’s best to blend the tigernuts with half of the water, strain and place the left-over pulp into the blender again with the rest of the water to extract as much as possible.

Imagen1

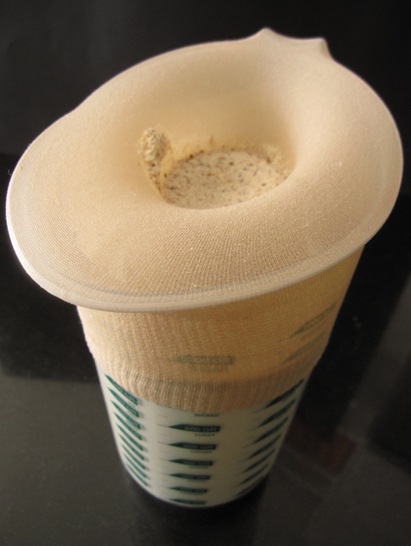
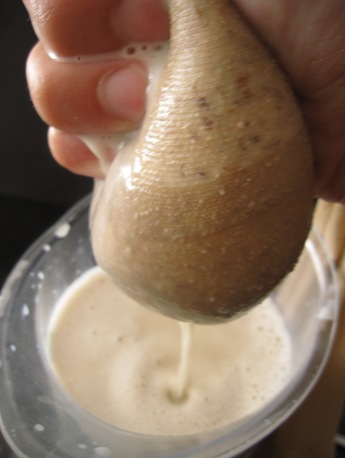
I used to strain it through a fine mesh strainer or chinois, it hadn’t occurred to me a better way to do this, until a lady from Valencia in the market “L’Olivar” in Palma de Mallorca in the stand of dried nuts (I bought some tigernuts) told me that there was no better way to strain them than using a panty sock! And it’s try, you can press easily to extract all the milk and just leave behind the flavourless powdered nuts!

IMG_1354

You can just pour it all in, and just press out all the juice!

IMG_1367

Leave in the fridge to cool, or even freeze slightly and use a blender to smooth it up…

IMG_1390bis

Just a note to say that it is common to leave the blended mix without straining overnight (again) to mature it. I think it’s unnecessary if the tigernuts have been well hydrated, in my opinion the result isn’t improved, but if you choose to do so, be sure to minimise the amount of lemon rind or cinnamon as those flavours do infuse in the mix and get much more enhanced!

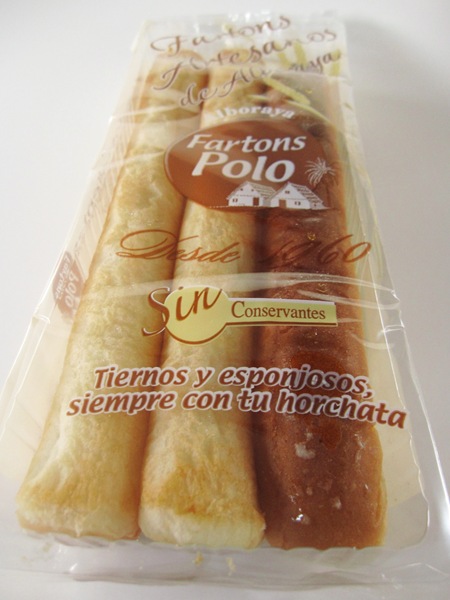
So, however you choose to make it, freshen up with some ice-cold horchata! And if you can get hold of some traditional fartons (long finger-wide leavened buns) warm them up and soak them in your cold horchata! D-E-L-I-C-I-O-U-S!!!!! I’ve still got to work on making them myself, but I hope to eventually get there! In the meanwhile, on it’s own it’s still well worth it!

IMG_1443

continue for recipe...

July 18, 2010

“Pimientos del piquillo rellenos de bacalao”

IMG_1222bis 

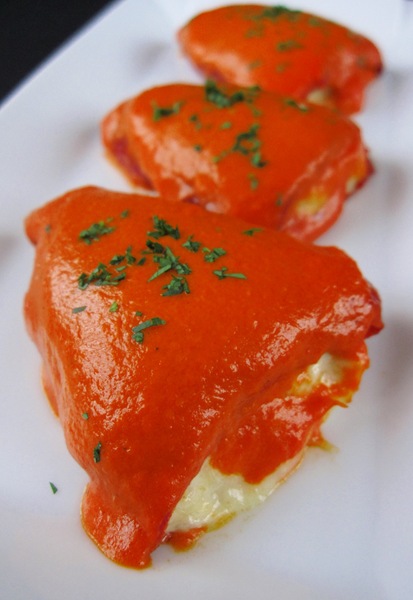
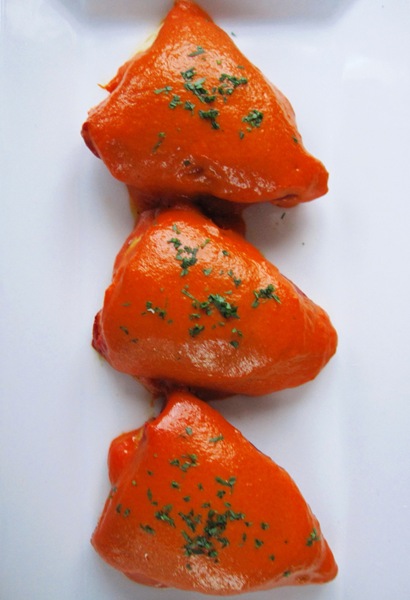
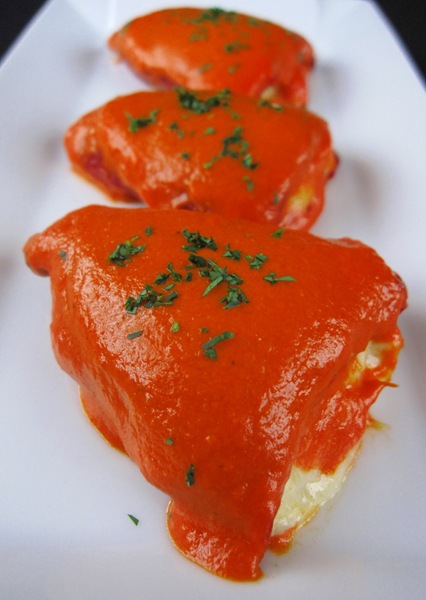
There are some dishes that to me don’t sound well translated because the original name implies a traditional dish, whereas the translation is barely an explanation of what the dish is. This is one of those dishes…I could have titled it “Piquillo peppers filled with bacalao” or “bacalao bechamel-filled piquillo peppers”…but it’s nowhere close to what the spanish name implies. First, because this recipe I’ve grown up with; my mom used to make it when I was small, and though I’ve tried many other recipes, this is still by far my favourite. Second (and last) because it’s a delicious traditional dish that is recognised by almost any spaniard and giving it another name would give it less authenticity (contradicting Shakespeare’s “a rose by any other name would smell as sweet”). Does any of this make sense to anyone other than myself? I must still  be high on the patriotic feeling after Spain won the World Cup Final!!! ;)

IMG_1114bis

Anyway, this is a fairly filling dish, and this recipe may be more so, as where I could cut back on the cream by substituting it for milk in the bechamel (though I prefer the creamy feeling) and making a “Vizcaina” or other tomato sauce instead of further using cream for the sauce (but again, I prefer the velvety texture of the original sauce). The only change I’ve made is to skip the covering the filled peppers in flour and egg & frying them and I’ve confit them prior to filling instead. But if you still want to make a lighter version, feel free to make those substitutions…The dish is still a perfect marriage: piquillo peppers & salted-cod are a perfect match!(in my opinion, that is).

IMG_1142

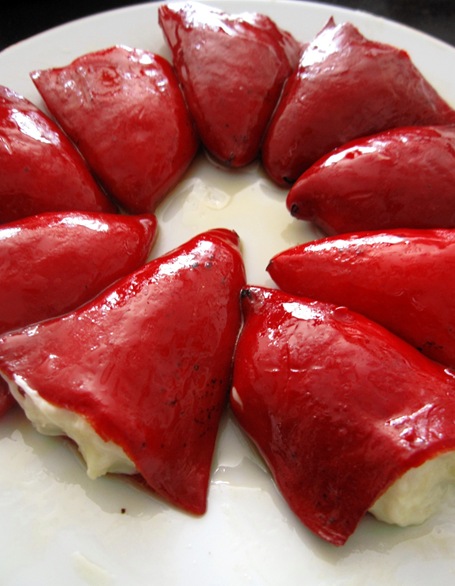
So, I hope you can get hold of some extra quality peppers to try this dish and let me know what you think of it! That is important, though, as 1st grade qualities may come with broken peppers, not ideal to be filled! I leave you with the recipe…¡Qué aproveche!
IMG_1226bis

Pimientos del piquillo rellenos de bacalao

(enough for 4 dishes)

For the confit peppers:

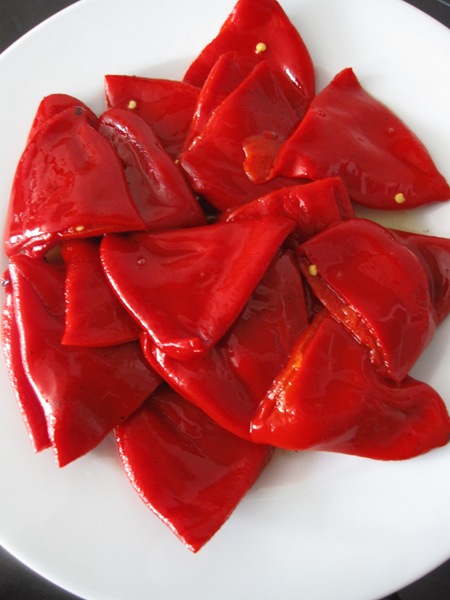
450g (net weight) can or jar of extra-quality piquillo peppers (separate 18-20 unripped ones)

extra olive oil for slow-frying the peppers

3 or 4 cloves of garlic

For the filling:

2 medium-sized onions

~240g of desalted bacalao

30g olive oil (or butter)

~30g plain flour

~250g single cream or milk (you may need a bit more)

For the sauce:

1 large onion

some olive oil for sautéing

~6 or 7 piquillo peppers (use the broken ones)

~200g cream (you may need more to thin up the sauce)

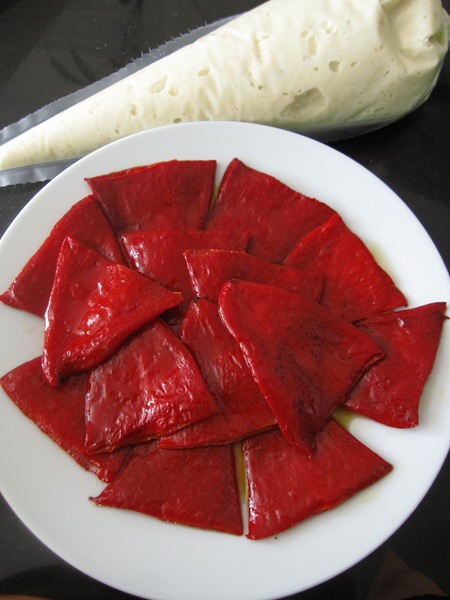
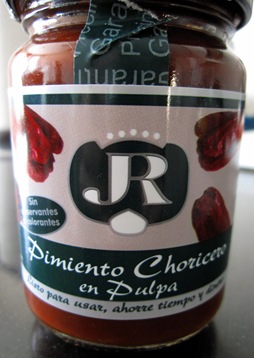
optional: 1 tsp of dried choricero pepper pulp (or tomato concentrate for colour)

salt & freshly milled black pepper

Also:

Parsley or chives for decoration


Start by preparing the confit peppers as you want these to cool down before filling them, simply because it makes the task easier! So, select the best looking ones to be filled and reserve the others to make the sauce.

IMG_1082

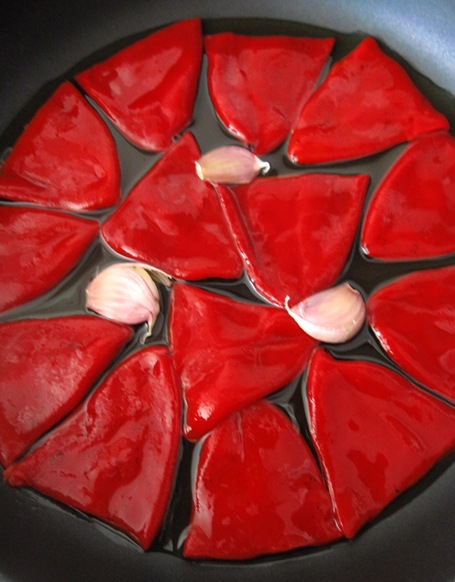
Deseed them well and place in a pan side by side and lightly cover at least half-way through with olive oil (the extra oil can be used to make both the sauce and the filling). Add the lightly mashed whole garlic cloves to infuse some flavour and place on minimum heat to confit slowly for at least 15 minutes. It’s best to turn them one throughout that time.

IMG_1086bis

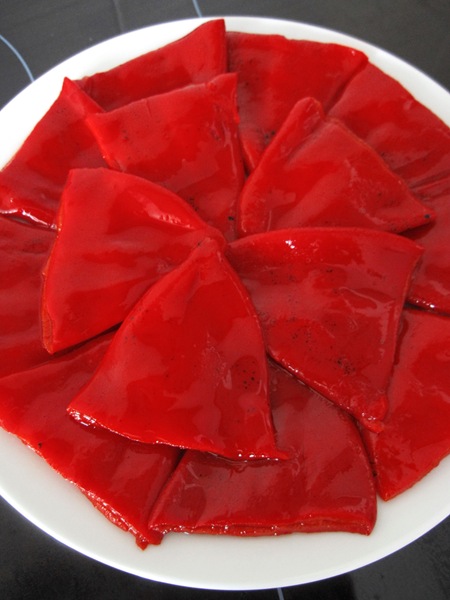
Make sure they don’t begin to colour, if so lower even more the heat. When they feel really soft when pierced, turn off the heat and remove them onto a dish…They’ll be butter-soft with a mild garlicky taste!

IMG_1085

Leave them to cool while you prepare the filling (you could start making the filling while you are slow-frying them if you are in a rush…but I usually prefer to wait, simply to reuse the flavoured oil!ah, also, don’t throw away the used cloves of garlic, as you can use them to also flavour the sauce).

For the bacalao, I usually get a few salted fillets, wash them up well and desalt them by covering about 3 times their weight with cool water and keeping in the fridge. I change the water as often as possible to speed up the process of osmosis. But at least 2 or 3 times a day. Depending on the size of the fillets, they may take 1 or more often 2 days. The first changes of water rehydrate the cod, the following ones desalt them. To try if it is ready, make sure you take a piece from the heart, that is from the inside part of the fillet or else you may think it’s ready and when you use it you will be disappointed as it ruins the dish from over saltiness!!! Once they are ready, I dry them well and those I won’t be using within 2 days, I wrap in kitchen paper, then cling film or a bag and freeze. That way, whenever you need cod it’s be ready to use!

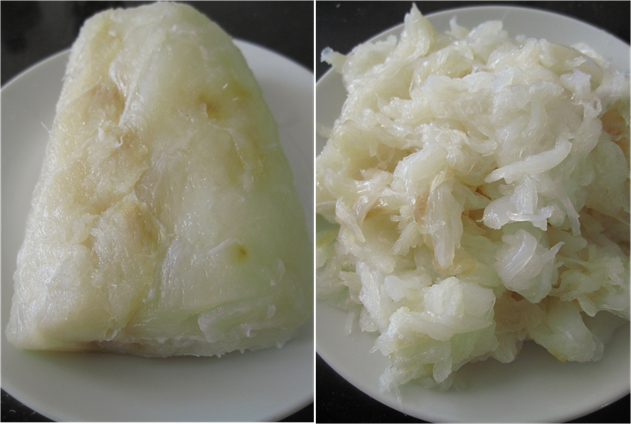
Then, just shred it into small pieces…

Imagen1

Otherwise, if you just got the salted cod, shred it up and place it in a bowl over slowly running water, so it stays in the bottom of the bowl as the water is constantly changing to remove the salt. In less than 15 minutes, it will be ready! In fact, watch it, so it doesn’t over desalt, or it will loose flavour.

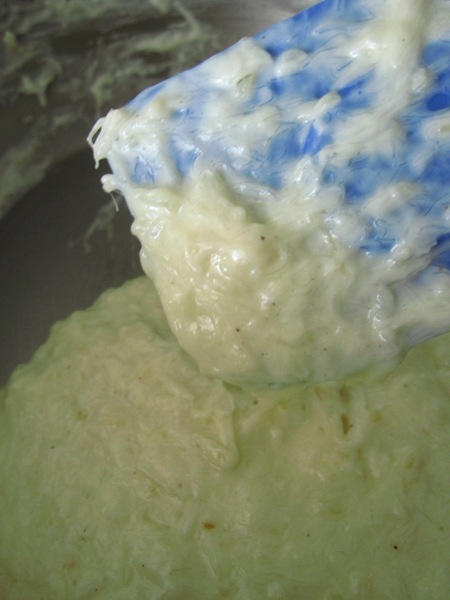
For the bechamel, cut up 2 onions into fine brunoise and sautée them slowly in about 30g of the olive oil left from the confit peppers until they are really soft and starting to colour, which means they bring out all their sweetness. Then, add the flour and after it cooks a little so the bechamel doesn’t taste raw add the cold cream (or milk if you prefer) slowly while stirring with a wire whip. Add more cream if needed, you should get a thick consistency that separates from the sides and bottom of the pan, but still creamy. Once it is smooth, you can shift to a spatula to stir as it is easier.

Add the shredded bacalao, which as it looses some moisture onto the bechamel, it will again feel softer. Continue stirring until it gains consistency again.If it’s way too thick, add more liquid. Think that if you let it cool down before filling the peppers, it will thicken up, and when rewarmed, it will be creamier. Let cool down with some cling film covering the bechamel directly as if it were a second skin, that way it wont dry on the surface and make a crust.

IMG_1108

You could fill the peppers easily with a small spoon, but if available, I prefer to fill up a piping bag, as it makes filling much easier!

IMG_1111

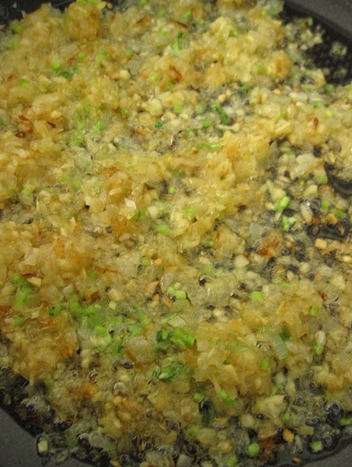
As it cools, you can prepare the simple sauce. Just cut up the onions in fine brunoise or julienne and also with some of the oil to cover the surface of the pan (you can reuse the pan you used to make the confit peppers…always think on avoiding the cleaning up!;) ) and slow-fry them. Ah, and also add the reserved garlic cloves to flavour the sauce as well! When very soft and beginning to colour, add the finely diced piquillo peppers and cook a little bit until soft as well.

IMG_1120

If using some tomato paste or pimiento choricero pulp paste, add it before pouring the cream, so it cooks off a bit (specially the choricero pepper paste as it has a stronger flavour).

IMG_1121

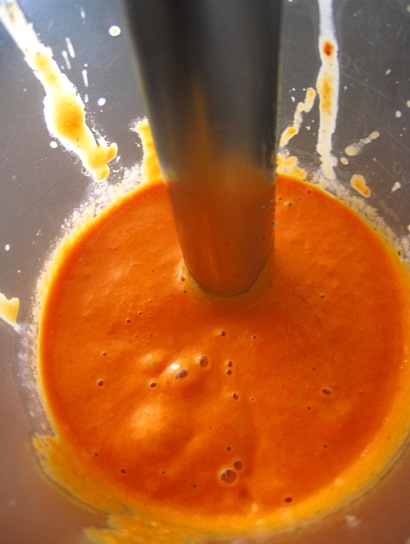
Then, add cream. To be honest I didn’t measure it, I added to cover and cooked off a little. Then, when I blend it, I adjust as needed. I always prefer to stay short and have to add more or even finish it off with water to get the texture I like, than to add to much and get a thin, faint-coloured sauce. When, it cooks a few minutes, just enough to thicken a little and get the flavours, remove the whole garlic cloves, adjust seasonings and blend it!
IMG_1126

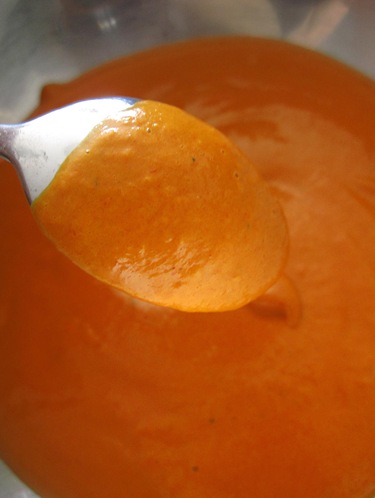
As I said, add more cream or milk or even water to get the right consistency: smooth, shiny, velvety, but just thick enough to cover the back of the spoon lightly!

IMG_1133

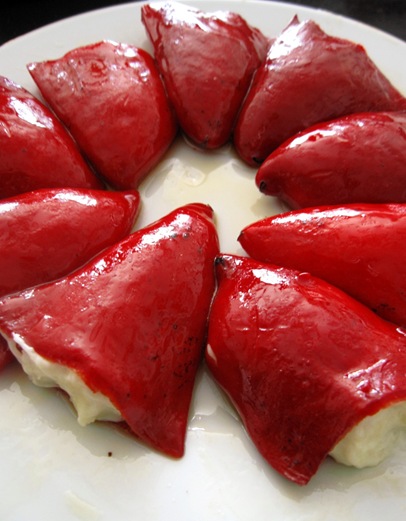
Now, time to fill up our peppers. Fill at least 3/4 full (I’m overly generous!) so the filling doesn’t run off as they are placed flat on a dish, but still be generous…they are filled peppers! Not with a tad of bacalao, but they should be plump and full of the filling!

IMG_1114bis

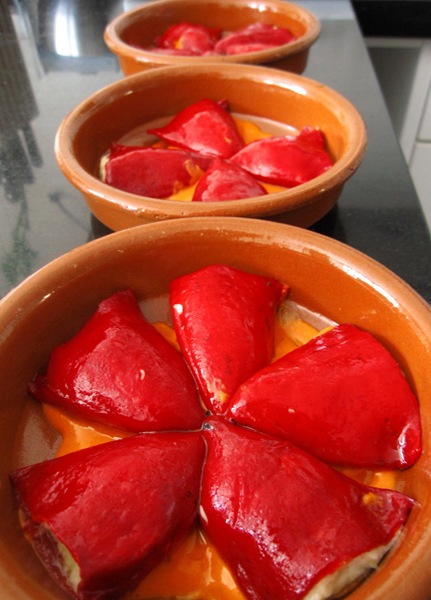
Place in a tray or place 4 or 5 in the traditional clay individual dishes over a spoonful of sauce.

IMG_1138bis

Then, just cover each pepper with some sauce(I tell women to think of it as if they were painting their nails! so it is smoothly covered). You can keep them ready in the fridge until ready to serve! Then, just pop in a preheated oven (about 160-180ºC) until warmed through! You don’t need to cook the peppers, as they’ve already been confit!
IMG_1141

When ready, you can leave them on the clay dishes or serve them on a dish lifting up each pepper and in both cases sprinkling with some chopped up parsley or chives!
IMG_1237bis

Hope you enjoy them!

IMG_1221bis

continue for recipe...

July 4, 2010

Kedgeree my way…

IMG_0368bis

I can’t remember how I first encountered this dish…I think it might have been through Jamie Oliver. I discovered Jamie when he started with “The Naked Chef”. At the time I was studying in England, nothing related to cuisine, but I fell in love with his rustic & tasty recipes and how simple he made the process sound. It was the first chef who inspired me and I like to work with his laid-back intuitive way. That is, not by the book, not following a recipe straight-forward, but adapting it to taste…"try it, stick your finger in, needs more salt? ah, how about some chilli in to give it a little kick? hum, I think it’s missing something. Yeah, that’s it, some kalonji, will go perfect with it!”. I’ve recently started teaching, the most gratifying experience in my life, by the way, and that’s what I’m trying to pass across: to feel it, to taste it, to make the experience theirs, to feel free to improvise and see through a recipe into the endless possibilities!

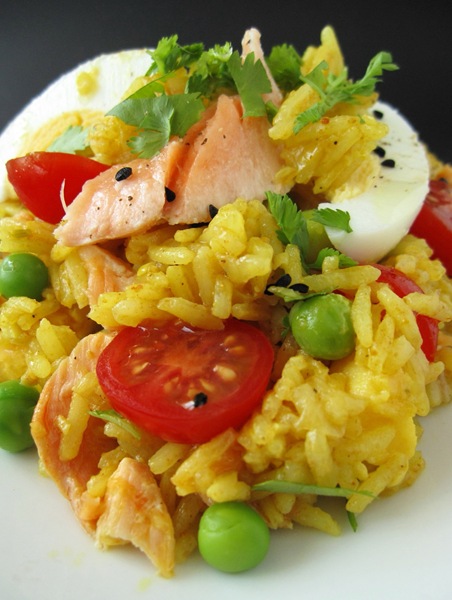
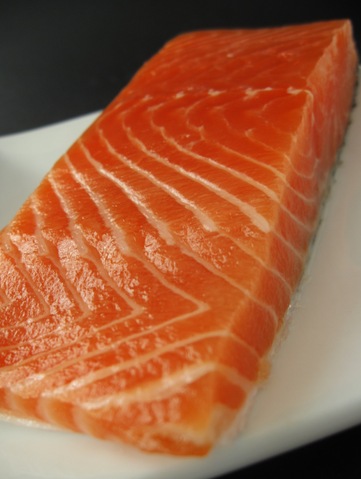
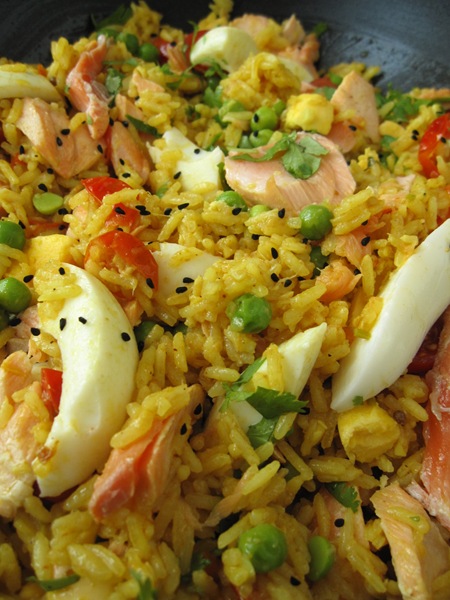
Anyway, about the dish, can’t remember if it was through Jamie, but from the first time I tried it, I liked it. I love rice dishes, I really enjoy any type of curry (Indian, in this case) and flaked fish gives this dish personality, combined with other herbs and spices. Apparently, kedgeree originated in colonial India and the british introduced the dish into the UK. It is usually served as a breakfast dish, but I never have it for breakfast, but rather for lunch or dinner. It is traditional to use smoked haddock in the dish, but I once saw a video of Gordon Ramsay using fresh salmon and poaching it in a saffron-infused stock, so I tried his idea and adapted it. I’m very particular on how fish is cooked. In Spain, it is generally overcooked. But I like it rather on the undercooked side, just until the flakes begin to separate. So, I poach the salmon from cold in a stock with saffron and other ingredients from the rice “sofrito”: ginger and coriander, to introduce those flavours into the salmon.

IMG_0382

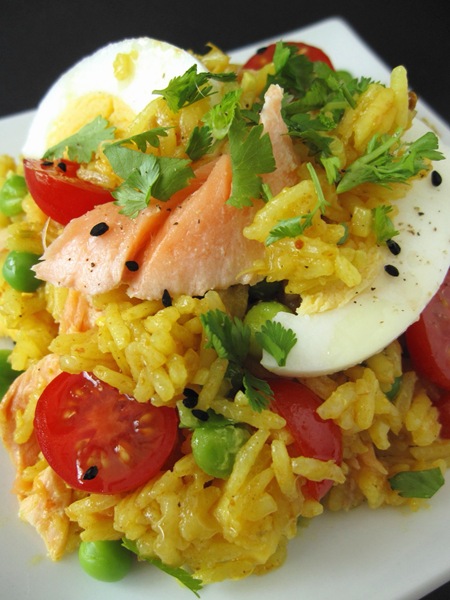
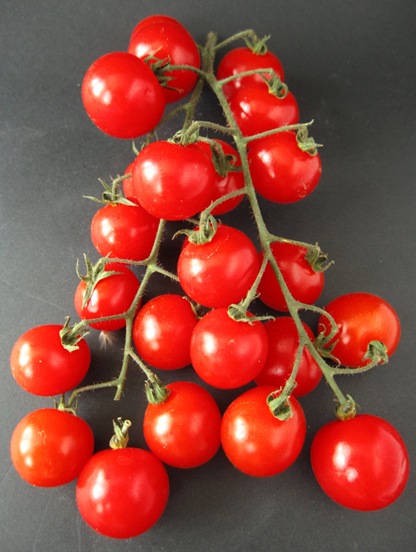
Furthermore, kedgeree is usually served with parsley, but I’d much rather add coriander which combined with the ginger freshes up the taste. Also, I like to add ripe cherry tomatoes rather than chopped up larger tomatoes, for looks and taste, they are sweeter. Finally, I like the touch of kalonji (nigella seeds, sometimes referred to as black cumin or onion seeds, but really are neither) to the finished dish! The rest is as traditional recipes: basmati rice (or any other perfumed long-grain rice), curry and hard-boiled eggs. It makes a very complete dish, super tasty and light, which can be eaten warm or cold…feel free to change the fish to your preference or adjust the spices to your liking! I hope you enjoy it!

Kedgeree

(enough for 5 servings)

For the salmon:

300g-400g salmon

water (to cover)

a few sprigs of coriander

a piece of fresh ginger

a pinch of saffron

salt and freshly ground black pepper

For the rice:

~40g of oil or butter (for sautéeing)

200g of onion (or ideally shallots)

3 cloves of garlic

~15g of fresh ginger

1 tbsp curry powder

250g of basmati (or jasmine rice)

a few coriander sprigs & leaves

1/2 tbsp of coriander root (if not available use the stalk)

~200g of cherry tomatoes

100g of green peas (fresh or frozen)

1/8 tsp of cumin seeds (a pinch!)

1/4 tsp of coriander seeds

4 eggs

a pinch of kalonji seeds

salt & freshly ground pepper

a knob of butter or ghee ( to finish up the dish)

Begin by preparing your stock to poach the salmon and cook the rice.

IMG_0320

Simply add the ingredients to about 400g of water, so you have enough to cook later on. Add to that while still cold the salmon and bring to a simmer slowly.

Imagen1

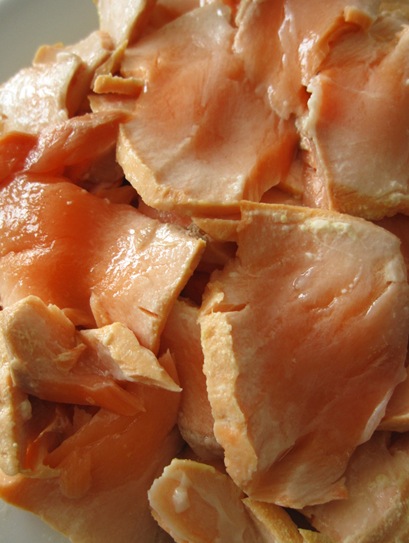
When you see the salmon flakes easily it’s ready, so remove the fillet and strain the stock. Then, flake the salmon where it naturally breaks up.

IMG_0328

Just a note to say, that if you don’t particularly like poached fish, you can cook it in a pan searing all sides with little oil until cooked through. Similarly, when pressing down, it should naturally separate. Then, set aside.

To start preparing the rice, just slice the onion finely  in brunoise (little squares) and start slowly frying it in the oil or butter in a pan that will fit the rice (it doubles after cooking) and that has a lid. When it starts to soften, add the garlic, the ginger and the coriander root or stalk (from the leaves you will add up later to finish), also finely chopped up. Cook slowly until the onion begins to colour lightly and it is very soft.

IMG_0333

Then, add the curry powder and the cumin and coriander seeds so with they fry a little to develop more aroma. 

Add the rice (measuring it’s volume in a cup or glass, so you can add the same volume of stock later) and slowly fry until translucent.

IMG_0313

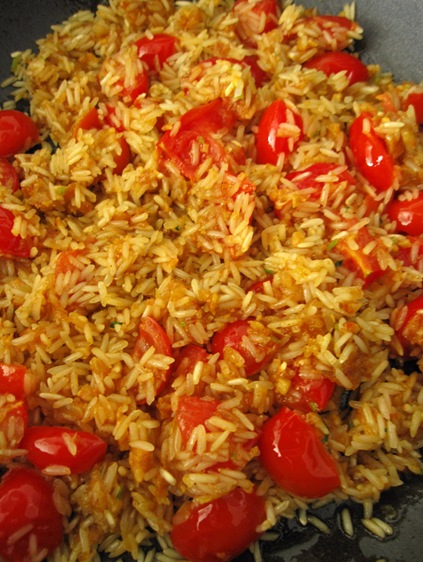
Add the tomatoes, cut in half, leaving about a few to decorate at the end, or you can alternatively leave them all for later ( I prefer to cook them so they concentrate and become sweeter).

IMG_0340

Measure a little more hot stock than the volume of rice. Bring to a boil, season with salt, cover and bring to a minimum. It depends on the rice, but I usually set my timer to 10 minutes, when it beeps, I turn off the heat, and keep it covered for 5 more. Just in case it’s different for you, after 8 minutes check if there’s any liquid left and how cooked is the grain of rice. If it needs more liquid, add a bit, cover and continue.

IMG_0341 

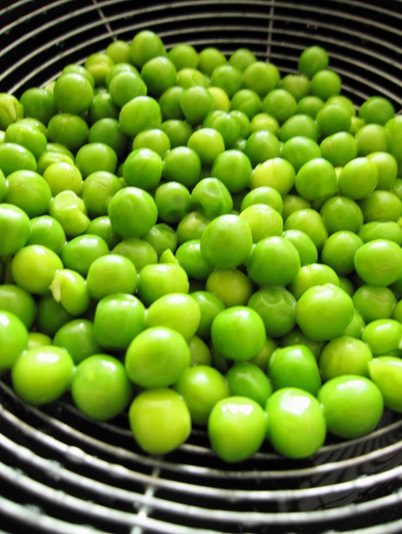
While it is cooking bring enough water to a boil, to cook the peas. Strain when ready and refresh under running cold water.

IMG_0347

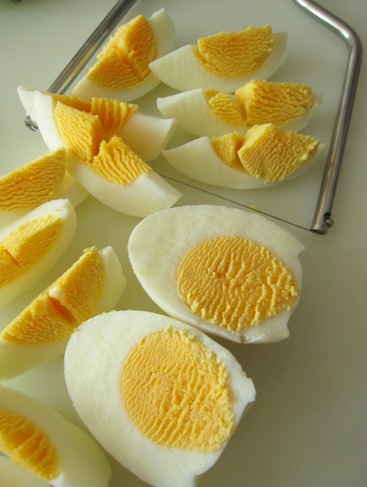
Also, hard-boil the eggs, by bringing them to a boil covered with water and counting about 10 minutes or a bit more (for a medium-size). Then cooling them in cold water, so you get a clean yellow-orange yolk without the greyish-green line from overcooking them! Then, cut up in eigths. I like to use a cheese wire, so it’s a clean cut, and it doesn’t stick to the blade of the knife.

IMG_0349

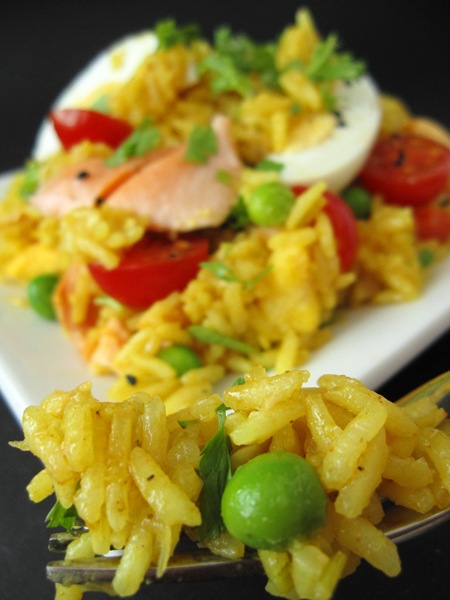
When the rice is ready, lift up the lid, and carefully stir the rice to fluff up the grains. Then, just add in everything else: The peas, the kalonji seeds, the chopped up coriander, the salmon and add a bit of butter or ghee (it’s nicer, as it has a beurre noisette flavour, or just prepare your own beurre noisette) to cream and season.

You are ready to serve!

IMG_0376

Enjoy!

IMG_0357

continue for recipe...